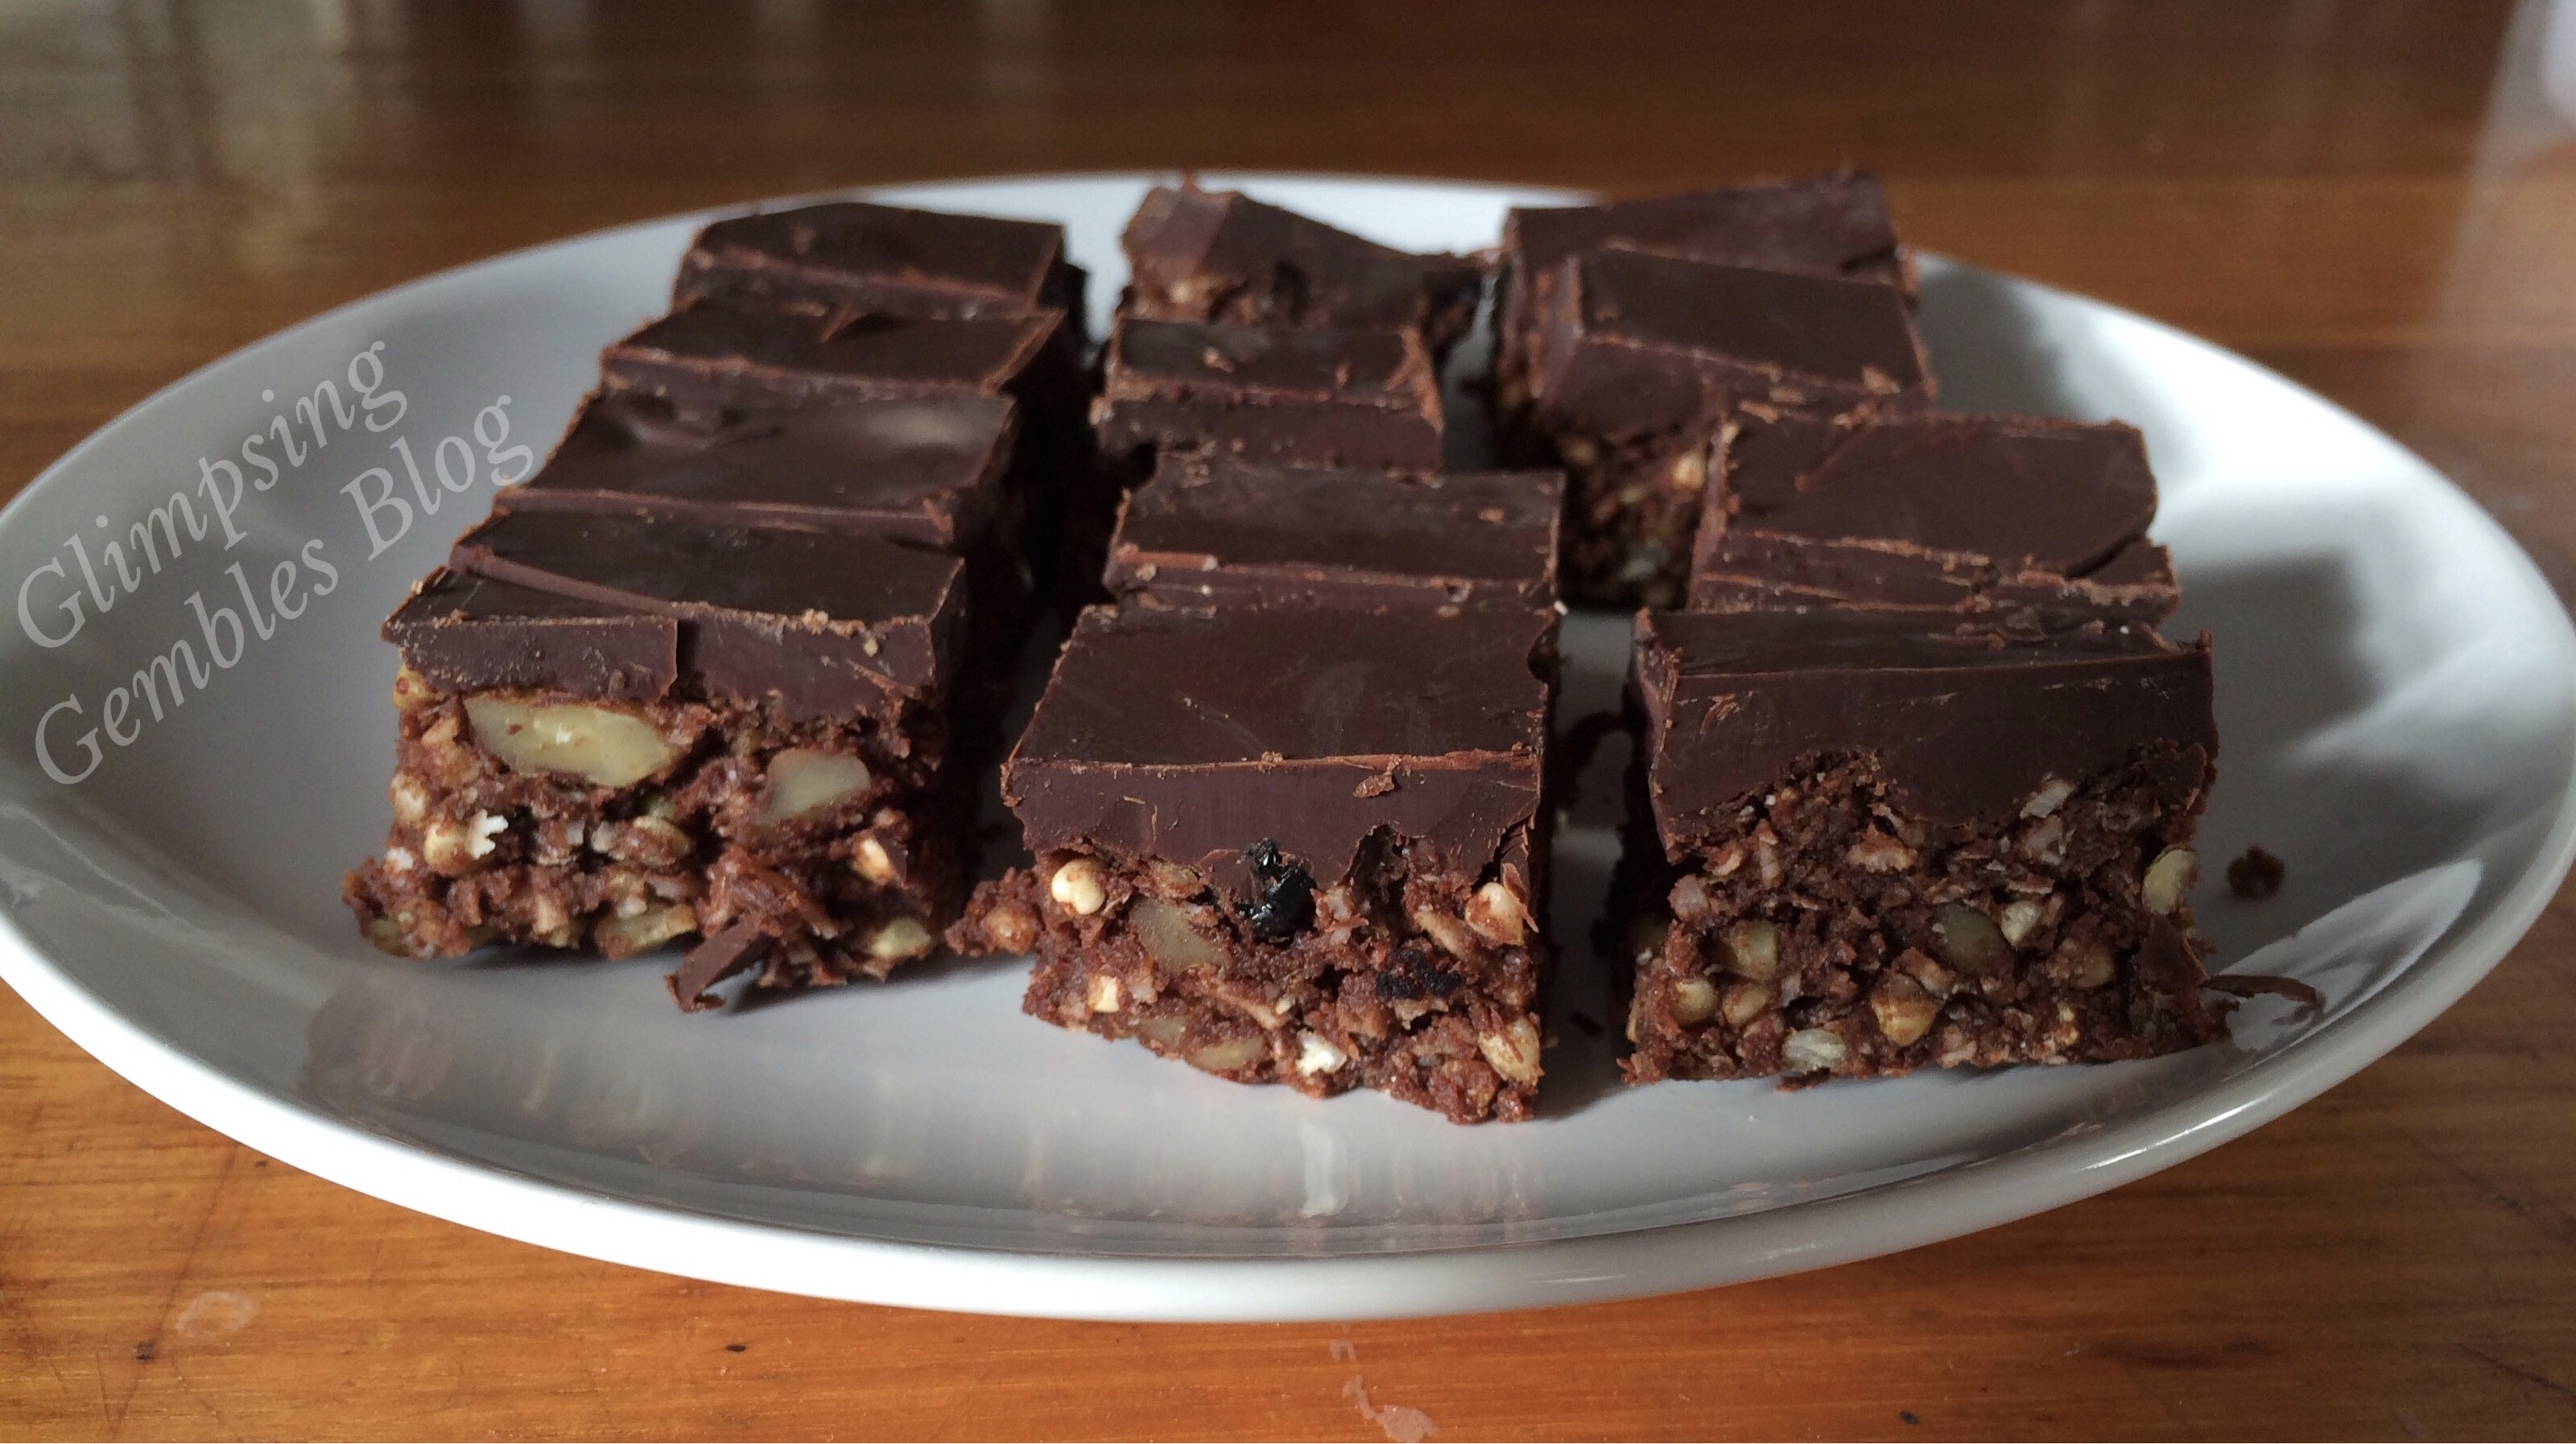
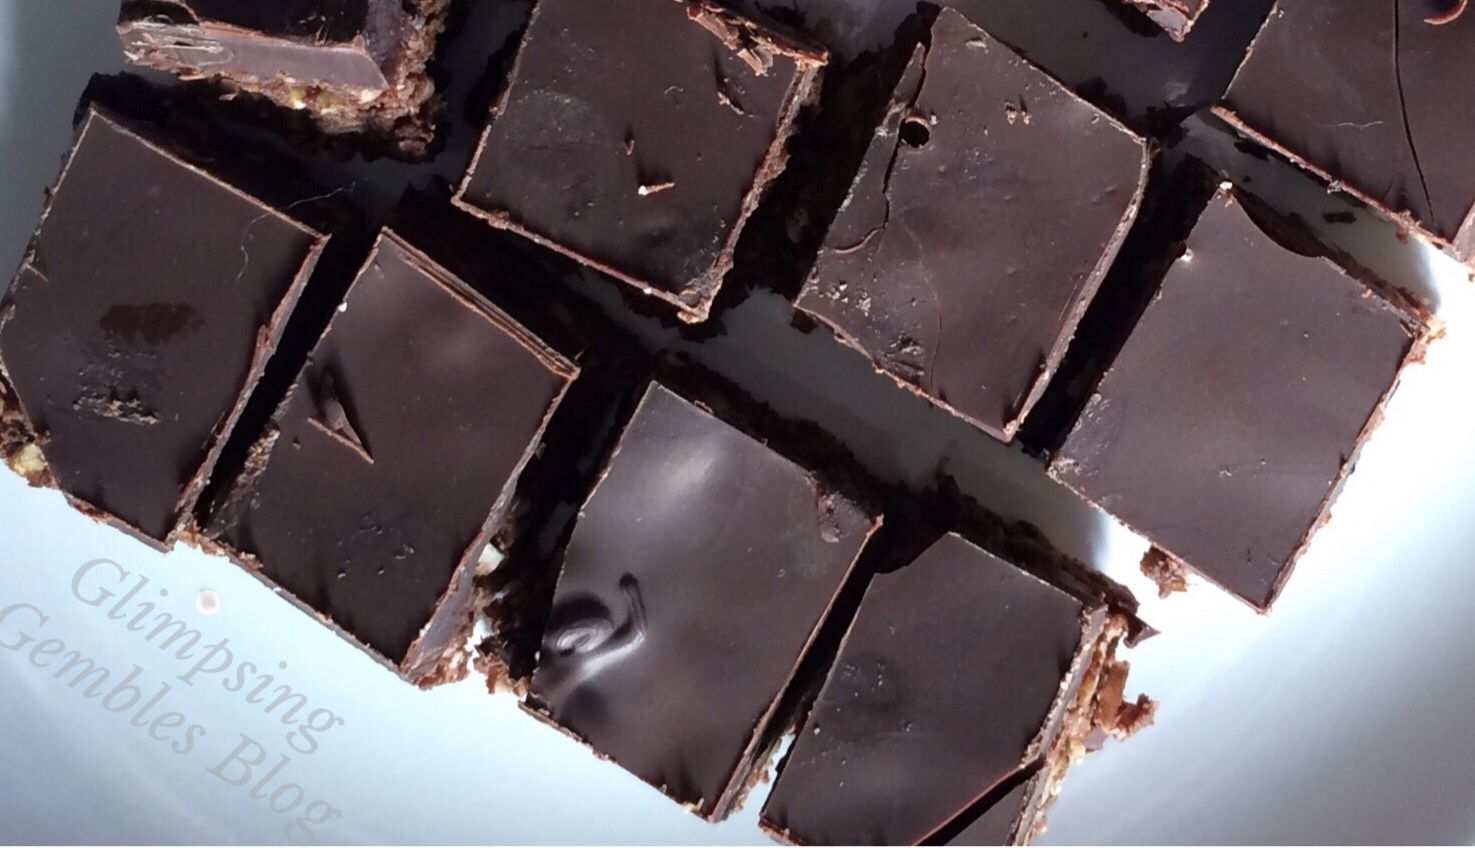
Fruit and nut chocolate slice, and a mini update.
Hello all! It has been a while since my last post; I have been busy with study and the usual health related bits and bobs, so unfortunately the blog has taken a back seat. However, I am back today with a really yummy slice that I created this week!
Mini blogger update: I have just completed another semester of my diploma at university. I am really happy with my results – the subjects were tough and I did better than I hoped – yay! I have also been, as always, trialling new medications and doses, so have been dealing with the usual ups and downs of that. I stopped going to the exercise physiologist when my uni work and heath exploded a little a couple of months ago, so I will do a post soon updating my thoughts on EP sessions. I have also had some diet twists and changes, so I will do a blog post about that too! Aside from that, I have just been plodding along as usual, trying to keep happy and positive, reading lots (book review posts to come!), and writing as much as possible.
I hope that you are all as happy and well as possible. I would love to hear from you all in the comments, on social media, or via email – update me as to how you have been! And I hope you enjoy the slice!
 Fruit and nut chocolate slice
Base:
1/2 cup almond or hazelnut meal
1/2 cup quinoa flakes or oats
1/2 cup shredded coconut
1/2 cup buckwheat kernels
1/2 cup chopped walnuts
50-100g dried fruit of choice (blueberries, pineapple, cranberries etc)
3 tablespoons cacao powder
Pinch of salt
1 tablespoon chia seeds and/or 1 tablespoon LSA/flaxseed, soaked in 2 tablespoons of water
1/4 – 1/2 cup maple syrup
1/8-1/4 cup coconut oil
2 teaspoons vanilla extract
Topping:
100-200g chocolate
Combine the dry ingredients.
Combine the wet ingredients.
Stir all together well.
Press into a lined baking tray and flatten lightly for an even surface.
Place into the fridge for about an hour or until firm.
Melt the chocolate in a small bowl over a pan of water on low heat, stirring frequently.
Remove slice from fridge, and pour melted chocolate over the top.
Place back in the fridge until set.
Remove slice when set and cut into desired sized pieces.
 You can play around with the amounts and ingredients to suit your taste – if you don’t like walnuts, try a different nut; if you don’t tolerate dried fruit, add more of something else; if you like sweet, go heavier on the maple syrup. I used dairy-free Lindt 70% dark chocolate for the topping, but you can use whatever takes your fancy. You could also interchange the vanilla extract with something like mint or orange essence for a change too. As long as the final product after step 3 is not too runny and is a bit sticky, it should set nicely!